Get started
Introduction to nShift Delivery
Introduction to nShift Delivery integration
User interface
We are updating the nShift Delivery look and feel and have released a beta version for you to try it out. In the first release you will meet a new login page, a new landing page and new menus. More new pages will be released continuously. You can switch back and forth between the new and the old user interface (UI)  , and thus work in the new UI in production.
Landing page
From the landing page you reach everything you need.
In the center of the page you get important messages and the latest news about nShift Delivery. The news and messages part is surrounded by menus that help you navigating the system.
Menus
In nShift Delivery (new UI) you use different menus to navigate the system as well as access assets related to the system.
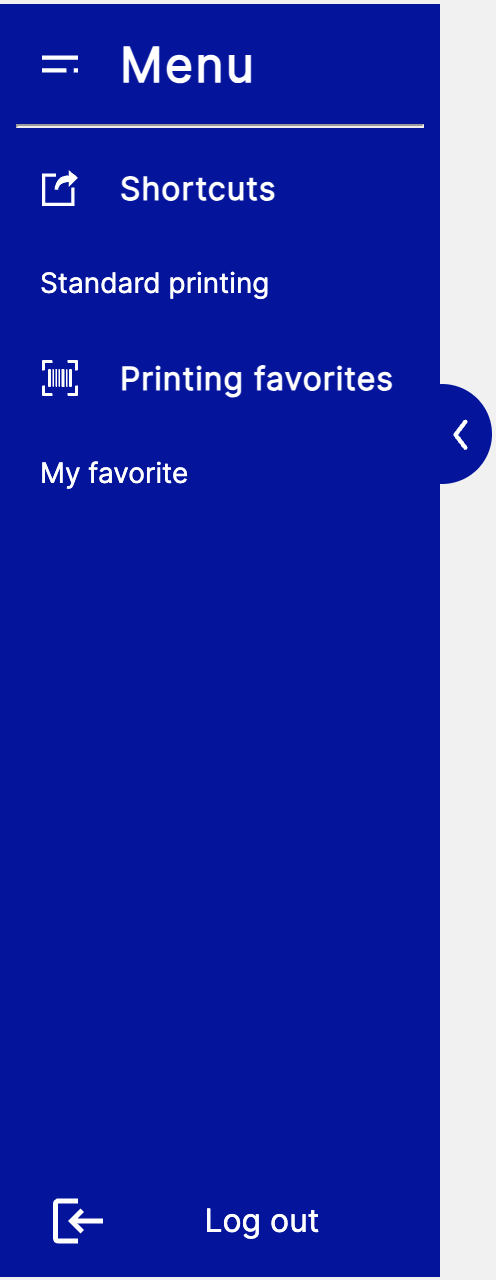
The shortcut menu
The left side menu is used for your or your profile's shortcuts. You can create shortcuts to frequently used pages and to printing and search favorites, and then access them from the shortcut menu.
The shortcut menu is available wherever you are in the system and can either be expanded or collapsed.
 |
 |
Shortcut menu - expanded and collapsed
The quick link menu
To the right you find the quick link menu. It is an easy way for you to reach the Standard printing page, the webshop and our help center.
The quick link menu is only available from the landing page. Click the nShift logo to the upper right in nShift Delivery to get back to the landing page.
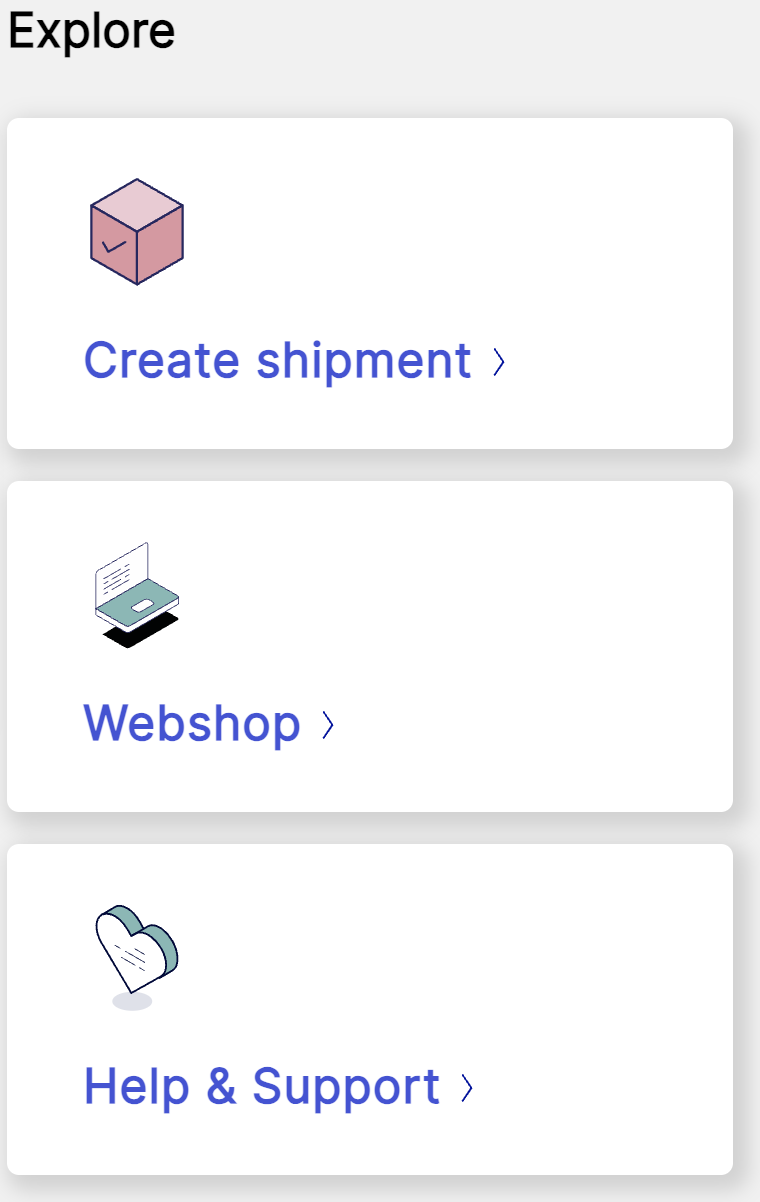 |
Quick link menu
Start shipping
To successfully get started with your shipments you need to be familiar with some core functions.
Install and set up OnlinePrinter
Register senders
Register receivers
Print labels and shipping documents
Create and use printing favorites
Webshop
Note
On the landing page you find important messages as well as news, such as release notes, webinars, etc.
OnlinePrinter
OnlinePrinter is the printing software you need to print labels and shipping documents on a physical printer.
Requirements for Windows
Windows 10 or higher
Local system administration privileges
The installation of OnlinePrinter follows the standards for "Windows Installer". The installation file is currently only available in English.
Download OnlinePrinter for Windows.
Requirements for Mac
MacOS 10.13: High Sierra or higher
Local system administration privileges
Download OnlinePrinter for Mac.
Drag the OnlinePrinter icon to the Applications folder.
Tip
If you encounter problems while installing OnlinePrinter, please refer to Troubleshoot OnlinePrinter.
OnlinePrinter settings
Go to > .
Click and follow the instructions.
Caution
If you use Firefox you may receive a message the first time you use the printer software. You must accept to open the link in order for OnlinePrinter to work properly.
If you use Safari you have to allow OnlinePrinter to open when you make the settings as well as each time you print labels and documents.
Add a new sender in the GUI
Go to > .
Click .
Tip
Check the Receiver box if the sender should act as receiver as well.
Note
Check the System integration box if the sender should be available as default sender in nShift Checkout.
Enter Address details.
Enter account information if you use Cash on Delivery or any other service that requires account information.
Enter carrier information, such as customer number.
Caution
Before you make your first shipment you have to add your carrier customer number(s) and other relevant information.
To add a carrier:
Click
 in the Carriers section.
Select a carrier from the Carrier dropdown menu.
Enter your carrier customer number in the CustNo field.
Note
Contact the carrier if you're unsure which customer number to use.
Enter other carrier information, if relevant.
In the Search information section, add category values to enable category search.
In the Default values section, add information, such as sender reference and delivery instructions, that will be set as default values when creating shipments.
You can add a new sender when printing, using standard printing and, if the option has not been locked, using printing favorites.
If you want to edit, copy or delete a sender, use the search function.
Add a new receiver in the GUI
Go to > .
Click .
Tip
Check the Sender box if the receiver should act as sender as well.
Enter Address details.
Enter account information if you use Cash on Delivery or any other service that requires account information.
Enter carrier information, such as customer number.
In the Search information section, add category values to enable category search.
In the Default values section, add information, such as receiver reference and delivery instructions, that will be set as default values when creating shipments.
You can add a new receiver when printing, using standard printing and, if the option has not been locked, using printing favorites.
If you want to edit, copy or delete a receiver, use the search function.
Standard printing
ESSENTIAL STANDARD |
Use standard printing for single print jobs.
You can print directly to your printer or print to PDF. You can also store the shipments for later printing.
Note
If you want to print labels and shipping documents on a physical printer you need to install OnlinePrinter.
To simplify and streamline the printing function, create printing favorites for your most common cases.
Print with standard printing
Go to > .
In the Sender and Receiver sections, select
 to use an existing sender/receiver. Select
  to use a new sender/receiver. When you use a new sender you can add your carrier customer number in the CustNo field.
Click to save the sender/receiver. Otherwise the sender/receiver is used only for this shipment.
Note
If you have entered a carrier customer number for the sender and saved it to the address book, please go to > and check if more carrier information is required.
Enter relevant shipment information, such as addons, options and parcel details.
Note
Depending on service, different information is required and/or available.
If you have different types of parcels, for example, 2 parcels of 3 kg each and 1 parcel of 4 kg, you must enter the types separately.
Example
Set No. of parcels to "2" and Weight (kg) to "3". Click .
Set No. of parcels to "1" and Weight (kg) to "4". Click .
You can choose to specify parcel information per parcel or per row. All parcels in a shipment must be specified in the same way.
"Specified per parcel" – the weight and/or the volume are calculated per parcel (2 parcels and 3 kg equals 6 kg).
"Specified per row" – the weight and/or the volume is the total for the parcels (2 parcels and 3 kg equals 3 kg).
Example
2 parcels and 3 kg, and 1 parcel and 4 kg, specified per parcel is 3 + 3 + 4 = 10
2 parcels and 3 kg, and 1 parcel and 4 kg, specified per row is 3 + 4 = 7
The information in the Freight measure section depends on your agreement with the carrier. Carriers use different values and calculation methods.
Click or to print immediately, or for later printing.
If the printing went well and should be used, click or to start a new print job.
If the printing went well but should not be used, click .
If the printing did not go well, but the problem can be solved immediately, for example, by loading labels, solve the problem and click .
If the printing did not go well, but the problem can be solved later, for example, if the printer is out of order, click and continue when the problem is solved.
Caution
Some carriers communicate via EDI and others via API, which can be important when you discard a shipment.
If you discard a shipment before EDI is sent (EDI carrier):
The carrier receives no information.
If you use the label anyway, the carrier may charge you a penalty - for using a non-EDI label.
If you discard a shipment after EDI is sent (EDI carrier) or if you use an API carrier:
The cancellation only takes place in Delivery and the label is still valid according to the carrier.
If you do not use the label, some carriers may charge a penalty - because they did not receive the parcel they expected.
Contact the carrier if you are unsure of what applies.
If the carrier offers pickup and you want to book, click or do it later in > .
Create a printing favorite
When creating a printing favorite you start with senders and receivers, continue with adding details about services and addons and finally adding details about shipment and parcels.
Note
All sections and alternatives within the sections are optional as you decide the level of detail you need for the printing favorite.
The services, addons and options available depend on what is included in your account.
Senders
Go to > .
Click and give the printing favorite a name.
Go to the Senders and receivers section and click .
Go to the Sender section.
Create a filter by clicking next to Filter . If you want to change where the information comes from, start by clicking next to Source. Normally, the source is Sender/receiver.
If you always use the same sender, select it as Default sender.
Check the Hidden box if the sender information should not be displayed in the GUI when printing.
Check the Locked box if it should not be possible to change sender.
Select a Default mode for using the printing favorite.
Register new/edit selected, if the mode where you add senders should be set as default.
Select from address book, if the mode where you select senders should be set as default.
Check the Locked to default mode box if it should not be possible to change modes.
Check the Never propose a sender box if the Sender field should not contain a sender from start, to avoid sending from the wrong sender.
Check the Mandatory search value box if a search value must be used.
Check the Only exact search box if it must be an exact match between search value and search results.
Receivers
Go to the Senders and receivers section and click .
Go to the Receiver section.
Create a filter by clicking next to Filter . If you want to change where the information comes from, start by clicking next to Source. Normally, the source is Sender/receiver.
If you always use the same receiver, select it as Default receiver.
Check the Hidden box if the receiver information should not be displayed when printing.
Check the Locked box if it should not be possible to change receiver.
Select a Default mode for using the printing favorite.
Register new/edit selected, if the view where you add receivers should be set as default.
Select from address book, if the view where you select receivers should be set as default.
Check the Locked to default mode box if it should not be possible to change views.
Check the Never propose a receiver box if the Receiver field should not contain a receiver from start, to avoid sending to the wrong receiver.
Check the Mandatory search value box if a specific search value should be used, for example, Quick ID.
Check the Only exact search box if it must be an exact match between search value and search results.
When needed, proceed with other address parties and enter details in the same way as for sender and receiver.
Service, addons and options
Go to the Service and addons section and click .
Go to the Service section.
Create a filter by clicking next to Filter .
If you always use the same service, select it as Service.
Check the Hidden box if the service should not be displayed in the GUI when printing.
Check the Locked box if it should not be possible to change service.
Check Normal label, Return label or both.
Check the Hidden box if the label selection should not be displayed in the GUI when printing.
Check Use sender address on label if that should be shown on the label instead of the dispatch address, in cases where dispatch party is used.
Go to the Addons section to add relevant addons. Different addons require different kinds of information.
You can choose to check Hidden, Locked and Select if valid for all addons.
Go to the Options section to add relevant options. Different options require different kinds of information.
You can choose to check Hidden and Locked for all options. For some options you can choose Select if valid.
Shipment and parcels
All fields in the Shipment and parcels section can be defined for the printing favorite. Entering default values, locking values, hiding details, and set fields as mandatory are some examples of how you can control information about shipments and parcels. You can also make settings such as the number of parcels, weight and package codes. These are values that may be mandatory for a service.
Caution
Proceed with caution when hiding or locking mandatory values as it may prevent you from creating a correct shipment when using the printing favorite.
Ignore warnings
In the Ignore warnings section you can make settings that allow you to print shipments that normally should have generated the status ”Warning”.
If you want to show, edit or delete a printing favorite, use the search function.
The webshop
You reach the webshop from the landing page, where you can:
Upgrade your subscription plan and add features
Add more carriers
Order labels, printers and packaging