Printing favorites
ESSENTIAL STANDARD |
To quickly get started with nShift Delivery and at the same time streamline your delivery management, you should use printing favorites.
You create your own printing favorites by adding default values or selections for senders, receivers, services, addons, contents, etc.
A printing favorite is not a fixed template, but a tool for you to regulate and limit alternatives when creating a shipment. The degree of regulation can vary and you can create printing favorites for different purposes.
Note
Start by analyzing your needs. You can add as many printing favorites as you want. Remember to optimize for normal cases and not for special cases.
You can use your printing favorite to print directly to a printer or print to PDF. You can also store the shipments for later printing.
Filters
The purpose of filtering information is to reduce the number of senders, receivers, services and addons to choose from. For example, you can create a printing favorite that only includes receivers in a particular city.
Tip
We recommend using the category fields when you add receivers to the address book. Use a category as a label for different types of receivers, if you, for example, have several senders and want to tie receivers to one particular sender.
Create a printing favorite
When creating a printing favorite you start with senders and receivers, continue with adding details about services and addons and finally adding details about shipment and parcels.
Note
All sections and alternatives within the sections are optional as you decide the level of detail you need for the printing favorite.
The services, addons and options available depend on what is included in your account.
Senders
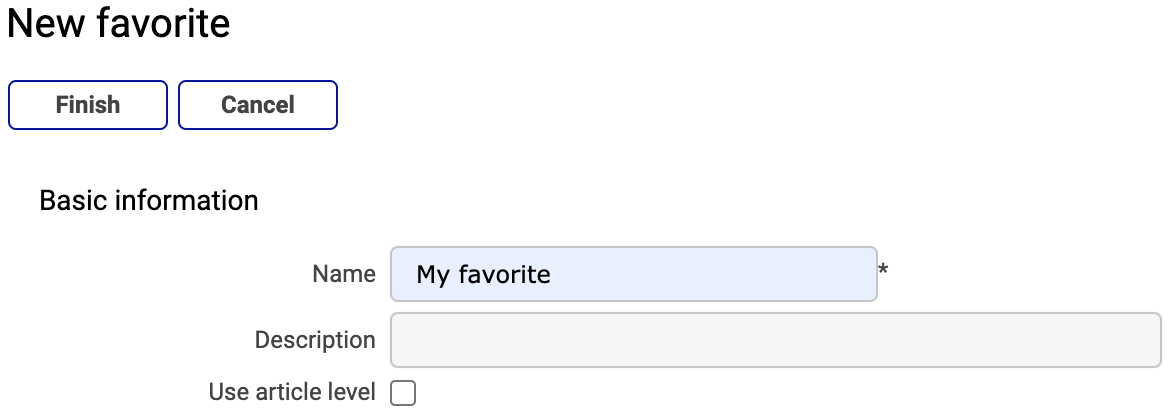
Go to > .
Click and give the printing favorite a name.
Go to the Senders and receivers section and click .
Go to the Sender section.
Create a filter by clicking next to Filter . If you want to change where the information comes from, start by clicking next to Source. Normally, the source is Sender/receiver.
If you always use the same sender, select it as Default sender.
Check the Hidden box if the sender information should not be displayed in the GUI when printing.
Check the Locked box if it should not be possible to change sender.
Select a Default mode for using the printing favorite.
Register new/edit selected, if the mode where you add senders should be set as default.
Select from address book, if the mode where you select senders should be set as default.
Check the Locked to default mode box if it should not be possible to change modes.
Check the Never propose a sender box if the Sender field should not contain a sender from start, to avoid sending from the wrong sender.
Check the Mandatory search value box if a search value must be used.
Check the Only exact search box if it must be an exact match between search value and search results.
Receivers
Go to the Senders and receivers section and click .
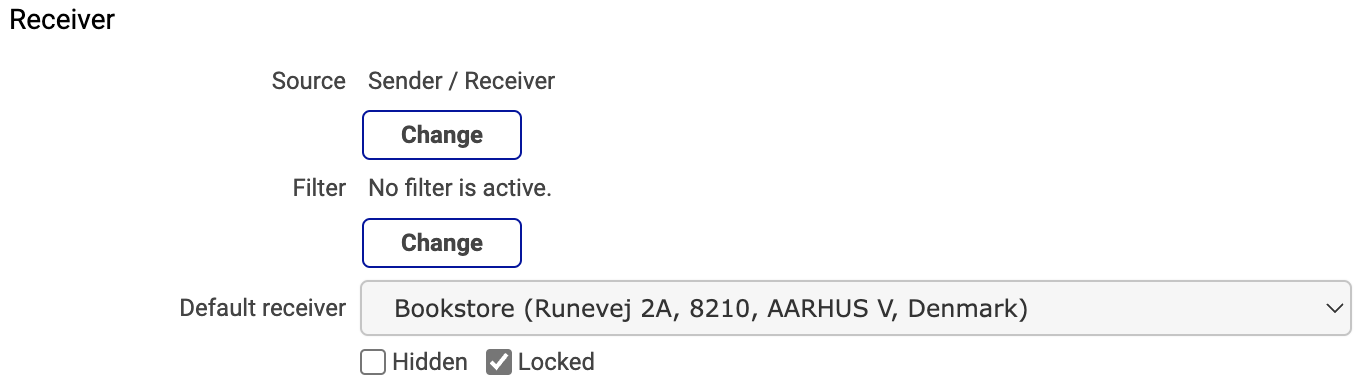
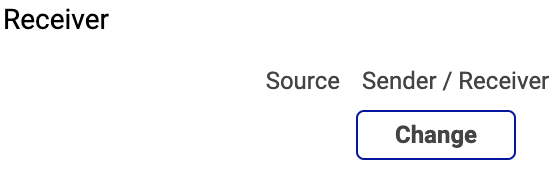
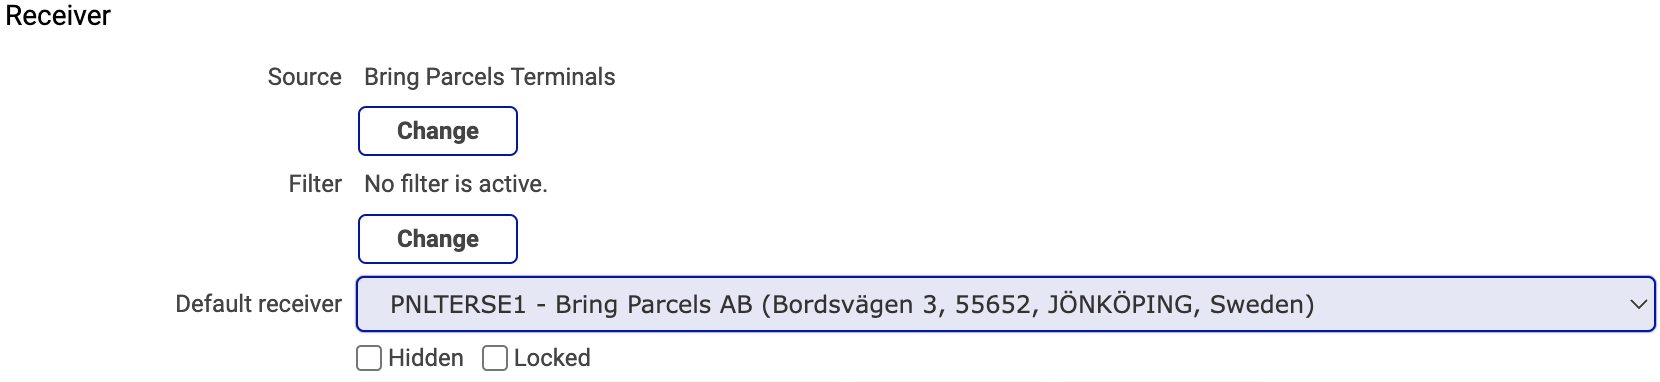
Go to the Receiver section.
Create a filter by clicking next to Filter . If you want to change where the information comes from, start by clicking next to Source. Normally, the source is Sender/receiver.
If you always use the same receiver, select it as Default receiver.
Check the Hidden box if the receiver information should not be displayed when printing.
Check the Locked box if it should not be possible to change receiver.
Select a Default mode for using the printing favorite.
Register new/edit selected, if the view where you add receivers should be set as default.
Select from address book, if the view where you select receivers should be set as default.
Check the Locked to default mode box if it should not be possible to change views.
Check the Never propose a receiver box if the Receiver field should not contain a receiver from start, to avoid sending to the wrong receiver.
Check the Mandatory search value box if a specific search value should be used, for example, Quick ID.
Check the Only exact search box if it must be an exact match between search value and search results.
When needed, proceed with other address parties and enter details in the same way as for sender and receiver.
Service, addons and options
Go to the Service and addons section and click .
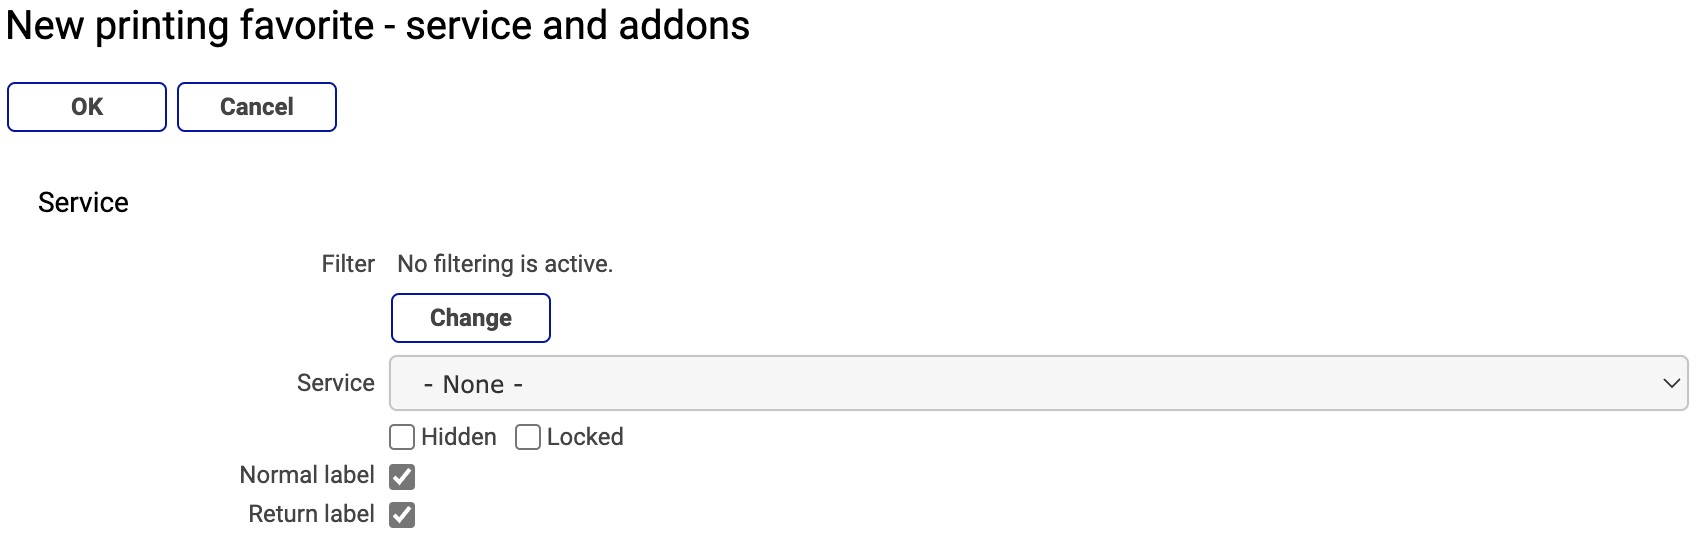
Go to the Service section.
Create a filter by clicking next to Filter .
If you always use the same service, select it as Service.
Check the Hidden box if the service should not be displayed in the GUI when printing.
Check the Locked box if it should not be possible to change service.
Check Normal label, Return label or both.
Check the Hidden box if the label selection should not be displayed in the GUI when printing.
Check Use sender address on label if that should be shown on the label instead of the dispatch address, in cases where dispatch party is used.
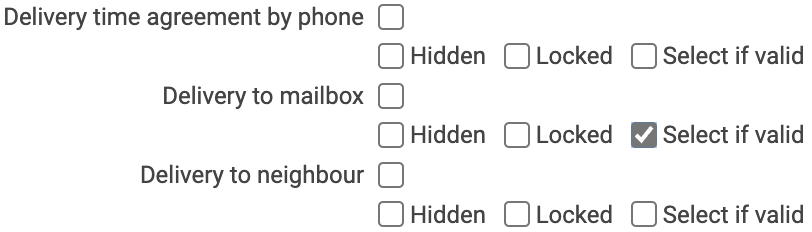
Go to the Addons section to add relevant addons. Different addons require different kinds of information.
You can choose to check Hidden, Locked and Select if valid for all addons.
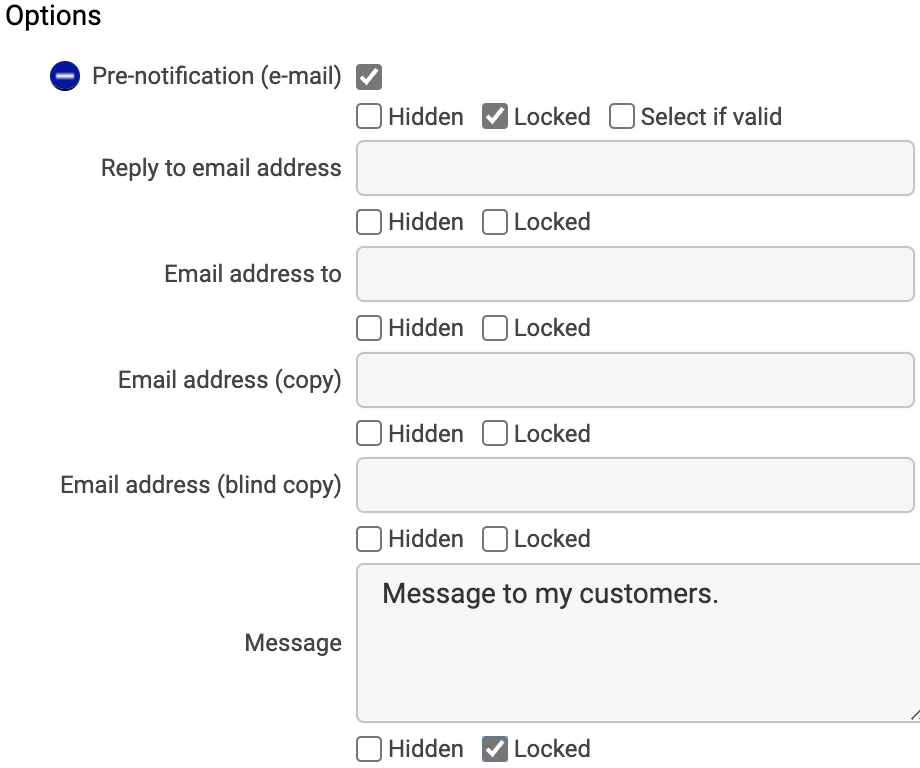
Go to the Options section to add relevant options. Different options require different kinds of information.
You can choose to check Hidden and Locked for all options. For some options you can choose Select if valid.
Shipment and parcels
All fields in the Shipment and parcels section can be defined for the printing favorite. Entering default values, locking values, hiding details, and set fields as mandatory are some examples of how you can control information about shipments and parcels. You can also make settings such as the number of parcels, weight and package codes. These are values that may be mandatory for a service.
Caution
Proceed with caution when hiding or locking mandatory values as it may prevent you from creating a correct shipment when using the printing favorite.
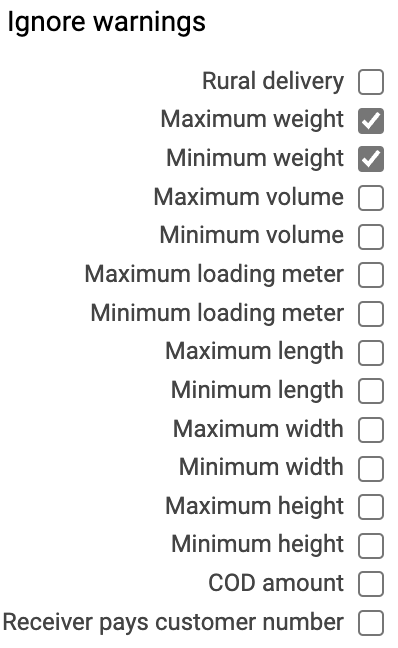
Ignore warnings
In the Ignore warnings section you can make settings that allow you to print shipments that normally should have generated the status ”Warning”.
If you want to show, edit or delete a printing favorite, use the search function.
Print with printing favorite
Go to > .
Click
 to the left of a printing favorite.
Enter relevant shipping information.
Click or to print immediately, or for later printing.
If the printing went well and should be used, click or to start a new print job.
If the printing went well but should not be used, click .
If the printing did not go well, but the problem can be solved immediately, for example, by loading labels, solve the problem and click .
If the printing did not go well, but the problem can be solved later, for example, if the printer is out of order, click and continue when the problem is solved.
Caution
Some carriers communicate via EDI and others via API, which can be important when you discard a shipment.
If you discard a shipment before EDI is sent (EDI carrier):
The carrier receives no information.
If you use the label anyway, the carrier may charge you a penalty - for using a non-EDI label.
If you discard a shipment after EDI is sent (EDI carrier) or if you use an API carrier:
The cancellation only takes place in Delivery and the label is still valid according to the carrier.
If you do not use the label, some carriers may charge a penalty - because they did not receive the parcel they expected.
Contact the carrier if you are unsure of what applies.
If the carrier offers pickup and you want to book, click or do it later in > .
You can create shortcuts to your printing favorites and easily access them from the left menu in nShift Delivery.
Using printing favorites in your integration
Printing favorites can be used to complete shipments created through API or XML file integration.
When creating a printing favorite you give it a unique name.
 |
You then use the printing favorite name in the JSON or XML file.
JSON | XML |
{
  "pdfConfig": {},
  "shipment": {
    "ediForward": true,
    "favorite": "My favorite",
    "options": [{
      "id": "free",
      "languageCode": "SE"
    }],
    "parcels": [{
      "copies": 1,
      "valuePerParcel": true
    }],
    "receiver": {
      "address1": "Runevej 2A",
      "city": "AARHUS V",
      "country": "DK",
      "name": "Bookstore",
      "zipcode": "8210"
    },
    "sender": {
      "address1": "Yliopistonkatu 5",
      "city": "HELSINKI",
      "country": "FI",
      "name": "Warehouse",
      "zipcode": "00100"
    },
    "service": {
      "addons": [],
      "id": "FREE",
      "normalShipment": true,
      "pickupBooking": false,
      "pickupDate": "2022-10-19",
      "subId": "13579"
    },
    "test": false
  }
} | <?xml version='1.0' encoding='UTF-8'?>
<data>
<meta>
<val n="favorite">My favorite</val>
</meta>
<shipment>
<val n="from">party1</val>
<val n="to">party2</val>
<service srvid="FREE_13579">
</service>
<ufonline>
<option optid="free">
<val n="language">SE</val>
</option>
</ufonline>
<container type="parcel">
<val n="copies">1</val>
</container>
</shipment>
<sender sndid="party1">
<val n="name">Warehouse</val>
<val n="address1">Yliopistonkatu 5</val>
<val n="zipcode">00100</val>
<val n="city">HELSINKI</val>
<val n="country">FI</val>
</sender>
<receiver rcvid="party2">
<val n="name">Bookstore</val>
<val n="address1">Runevej 2A</val>
<val n="zipcode">8210</val>
<val n="city">AARHUS V</val>
<val n="country">DK</val>
</receiver>
</data> |
Some examples of using printing favorites to complete shipments created through integration
Caution
If a value is provided in both the integration file and the printing favorite, the integration file overwrites the printing favorite in case you do not lock the value in the printing favorite.
For example:
 |
Go to > .
Click .
Give the printing favorite a unique name.
Click in the Senders and receivers section.

Click under Source in the Receiver section.
Select a source from the drop-down list in the Source field.
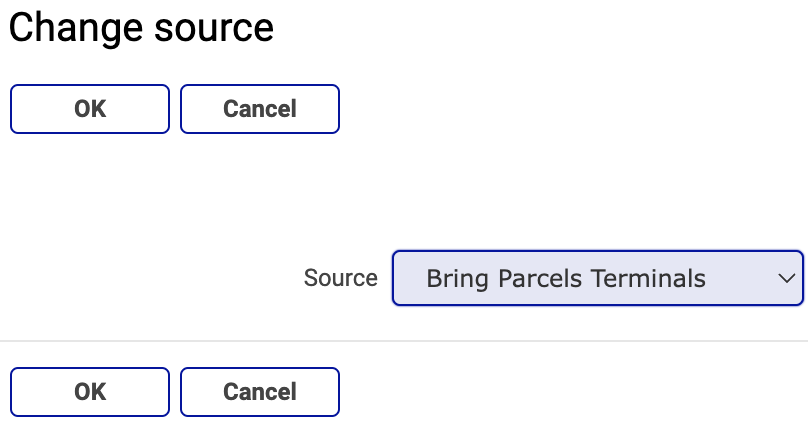
Click .
Select a receiver from the drop-down list in the Default receiver field.
Click and to save your printing favorite.
Go to > .
Click .
Give the printing favorite a unique name.
Click in the Service and addons section.
Go to the Addons section and check the Select if valid box next to the additional service you want to use.
Click and to save your printing favorite.
Caution
If you lock an addon with Select if valid, shipments where the addon is not available will result in an error.
Go to > .
Click .
Give the printing favorite a unique name.
Click in the Service and addons section.
Select a service if it should only apply for that specific service.
Check the Normal label box and the Return label box.
Click and to save your printing favorite.
Go to > .
Click .
Give the printing favorite a unique name.
Click in the Service and addons section.
Check the Pre-notification (email) box in the Options section.
Enter your message in the Message field.
Click and to save your printing favorite.
Go to > .
Click .
Give the printing favorite a unique name.
Click in the Shipment and parcels section.
Select the warnings to ignore in the Ignore warnings section.
Click and to save your printing favorite.
Go to > .
Click .
Give the printing favorite a unique name.
Click in the Shipment and parcels section.
Check the No direct print of orders with warnings box in the Order import section.

Click and to save your printing favorite.