Email pre-notification
PROFESSIONAL PLUS |
With email pre-notification you can send advance information to your customer about a shipment.
In addition to shipment information, the notification contains a traceable package ID and often contact information to the carrier.
With branded email pre-notification you create notification templates with for example, your company's logo, an offer or an ad.
You can add a message to the receiver.
The receiver’s country decides the language used in the message.
Available languages:
Danish
Dutch
English
Finnish
French
German
Norwegian
Swedish
English is used when official language is missing.
If you use the item directory you can choose to include information about items in the email. This might replace a packing slip.
You can use pre-notification with standard printing and printing favorites.
For using pre-notification through APIConnect, please refer to the REST API documentation. For OnlineConnect, please refer to the XML file specification.
Email pre-notification - Standard printing
Go to > and enter your shipment details.
In the Options section, check the Pre-notification (email) box.
You can type a personal message in addition to the general text used in the notification. Use pipe characters, (|), for line breaks.
If you use branded email pre-notification, select a template.
Click .
Email pre-notification - Printing favorites
Go to > .
Click , or followed by
 to the left of an existing printing favorite.
For a new printing favorite, enter details as instructed for printing favorites.
For both new and existing printing favorites, go to the Service and addons section and click .
Scroll down to the Options section and check the Pre-notification (Email) box.
You can specify whether the information should be hidden, locked or selectable.
You can type a personal message in addition to the general text used in the notification. Use pipe characters, (|), for line breaks.
If you have branded email pre-notification, select a template.
Go to > to use the printing favorite with email pre-notification for a shipment.
You can add email pre-notification to an existing printing favorite for a single shipment.
Go to > .
Select printing favorite by clicking
 .
.On the page Print - shipment and addons, in the Options section, select Pre-notification (Email).
The setting is not saved in the printing favorite.
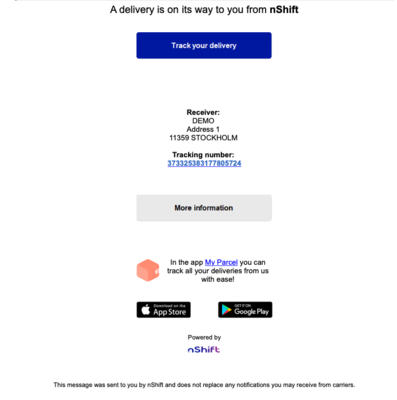
Example:
Branded email pre-notification
PREMIUM PLUS ADD-ON |
With branded email pre-notification you create templates for the notifications that are sent to your customers.
A template can contain, for example, your company's logo, an offer or an ad.
Go to > .
Click .
The Email sender name is the name, for example, your company name, that will be visible for the receiver.
You can upload two images, one as header and one as footer. The recommended image size is 950 x 150 pixels. Maximum file size is 100 kB.
Select a Track and Trace template if you want to link your email pre-notification template. Please refer to Branded Track and Trace.
Click to create the template.
Click to see what the notification template looks like.
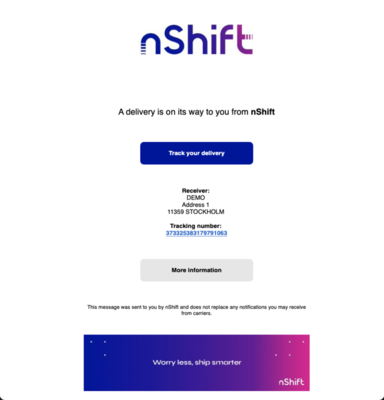
Example:
If you want to show, edit or delete an email template, use the search function.
A default pre-notification template can be set on account and profile group level.