Setting up profile management
When setting up profile management, start with profile groups and roles. Then create profiles in the profile group and assign them roles.
Create a profile group
Go to > .
Click .
Enter profile group name.
If you want to show, edit or delete a profile group, use the search function.
Tip
You need to connect at least one sender to the profile group. Either by creating a new sender in the profile group or connecting an existing sender to the profile group.
Go to > .
Create a role
Go to > .
Click .
Enter role name.
Select which rights the role should have.
If you want to show, edit or delete a role, use the search function.
Create a profile
Go to > .
Click .
Select a profile group
Enter profile name and password.
Caution
The password must be between 8 and 32 characters and contain at least one letter and one digit.
Only a-z, A-Z and 0-9 are allowed.
No alphabetical, numeric or keyboard sequences longer than three (3) characters are allowed. For example, ABCD2222, AAAA1234 and QWERTY22 are not valid passwords.
Passwords are only visible when created. Once you click , they get encrypted and can't be read as text.
Use to create a secure and valid password.
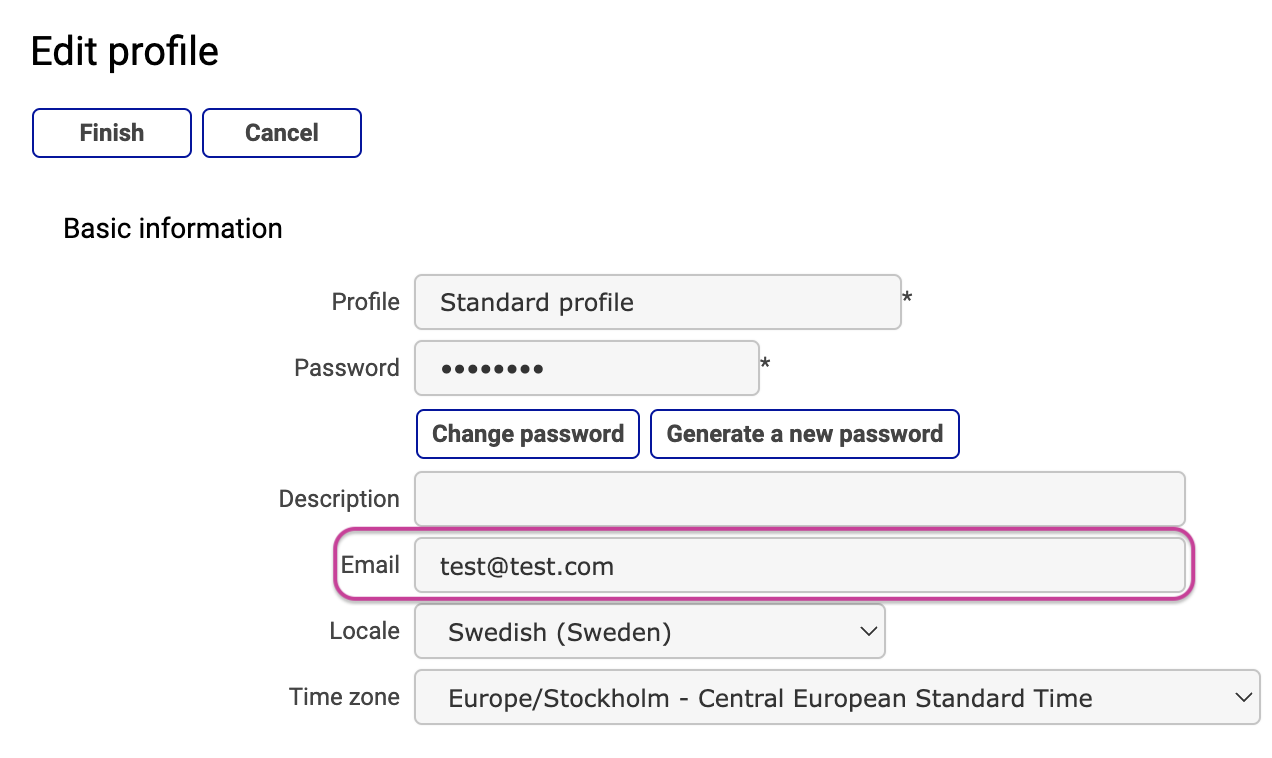
Enter a valid email address if you will use MFA (multi-factor authentication).
Note
Multi-factor authentication (MFA) is an authentication method that requires the user to provide two or more verification factors in order to access an application. MFA is recommended to increase security, to protect against password attacks and to comply with data security and protection requirements, such as GDPR.
The email address you provide will receive the authentication code needed to log in with MFA.
Assign role(s) to the profile.
If you want to show, edit or delete a profile, use the search function.