Print client
The Print client communicates with printers and pushes print jobs. The client will remain connected to the server persistently and be assigned a unique identifier along with every printer detected.
Before you can start using the Print by nShift solution you need to receive an account through nShift Delivery and make some preparations .
An email containing an autogenerated username and a link to setting a password is sent to the email address associated with your Delivery account.
Log into nShift Delivery.
Go to > .
Click .

Open the email containing your auto-generated username and the link to setting a password.
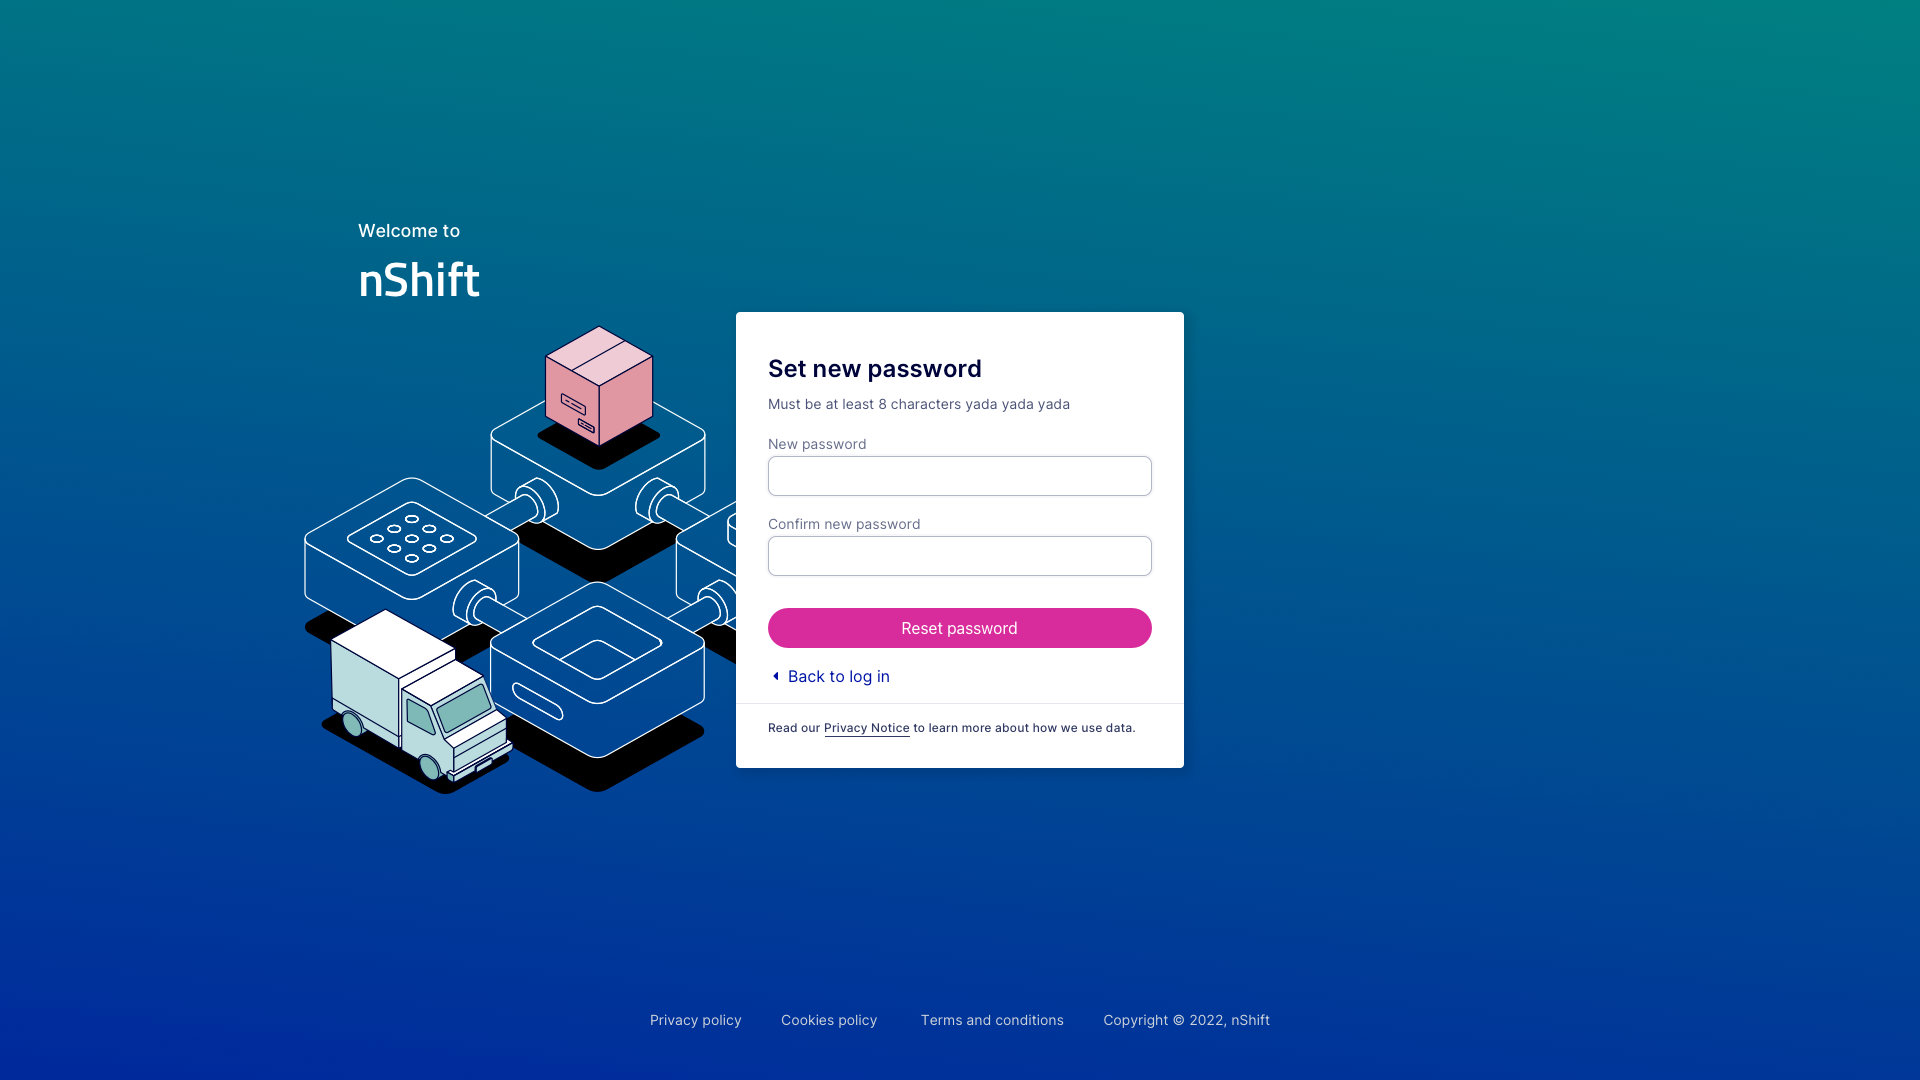
Follow the link to set your password.
When you've downloaded and installed the Print client you can use your credentials to connect it to the printing solution.
Before you're ready to use the solution through Delivery you need to associate API keys in Delivery with the Print account.
Go to > .
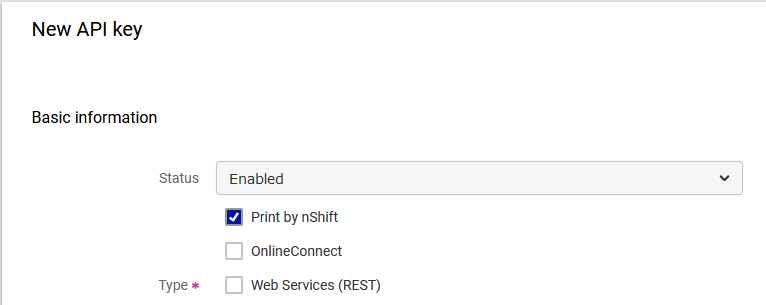
Check the Print by nShift box in the Type section on any API key you want to use with the solution.
The Print client application facilitates communication with installed printers and the printing solution server. The client will remain connected to the server persistently and be assigned a unique identifier along with every printer detected.
The desktop application runs on Windows and Mac. You can also run the application as a service and interact with it through a browser based interface which is the preferred method when run on a server.
Requirements for Windows
Versions
Windows Vista Windows 7 Windows 8 Windows 10 Windows 11
Download Print client for Windows.
Requirements for Mac
Versions
Big Sur Monterey Ventura
Download Print client for Mac.
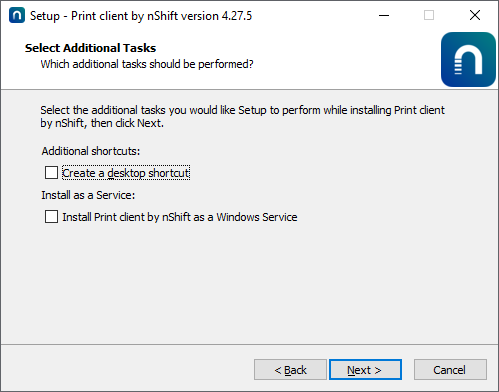
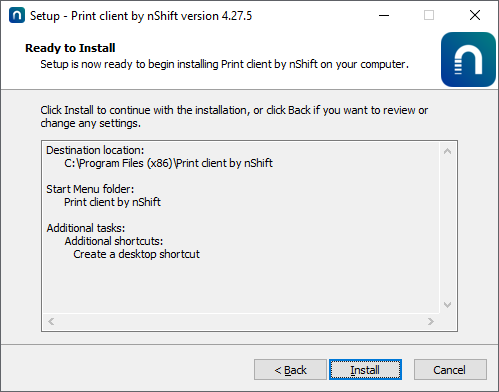
After launching the installer, follow the steps in the installation wizard. Make the appropriate choices and finish the installation.
Caution
Make sure to select the correct box depending on whether you're installing as a desktop or as a service.
 |
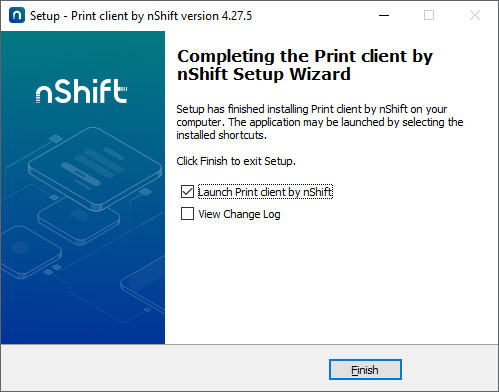
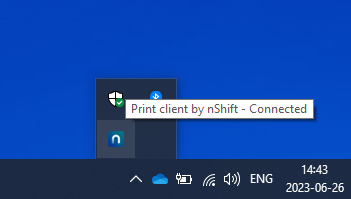
Once the installation has completed you will be able to launch the application user interface from the system tray icon if you've installed the Print client as a desktop application.
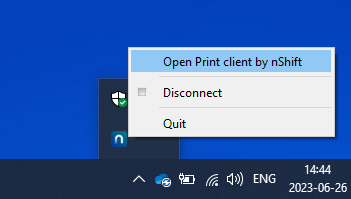
As a service the client interface is accessible using the following URL: localhost:8888
Desktop application
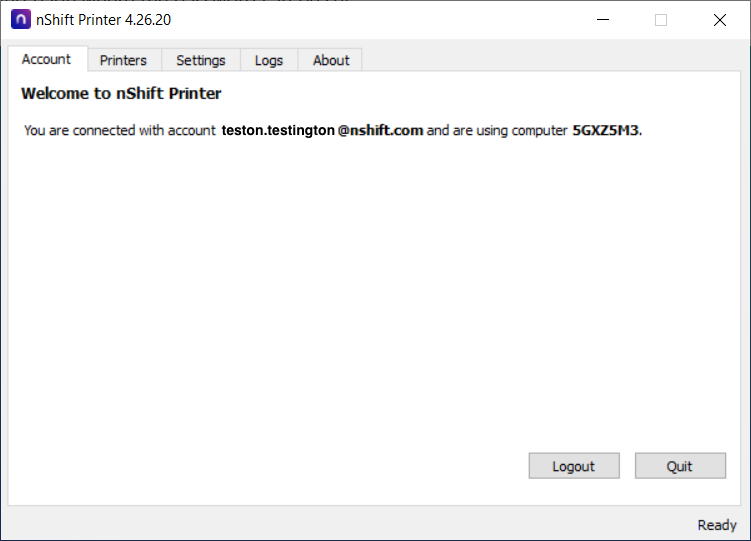
Launching the application user interface will take you to the welcome screen of the application.
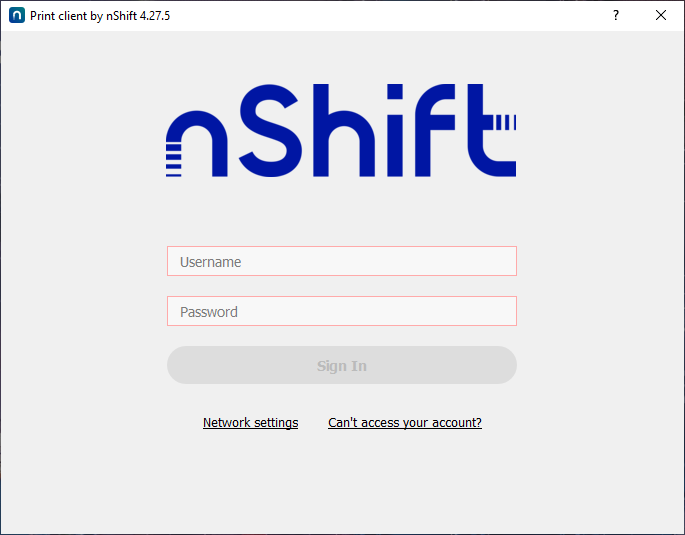 |
Provide the credentials you received by email for the printing solution. Using those credentials in the client application will open a persistent session and the client registers with the service.
 |
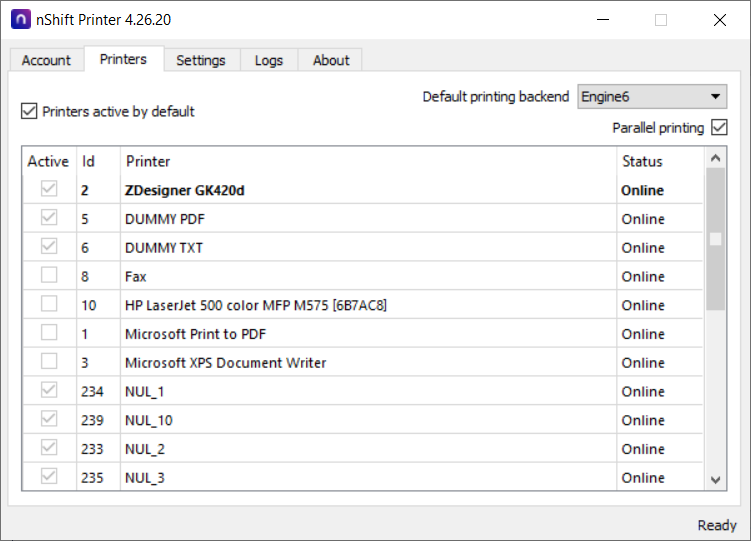
Installed printers will automatically be detected and assigned unique identifiers. Switch to the Printers tab in the application to view and deselect any printers that you don't want to use for the service.
 |
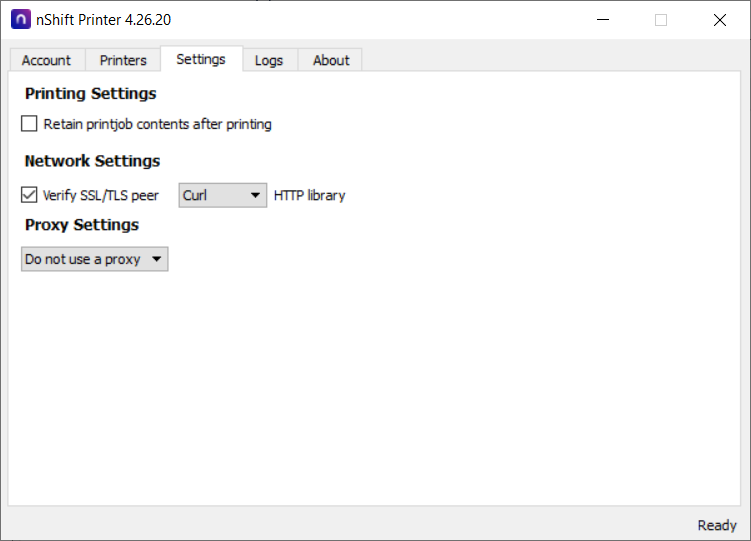
Some other settings can be adjusted under the Settings tab.
 |
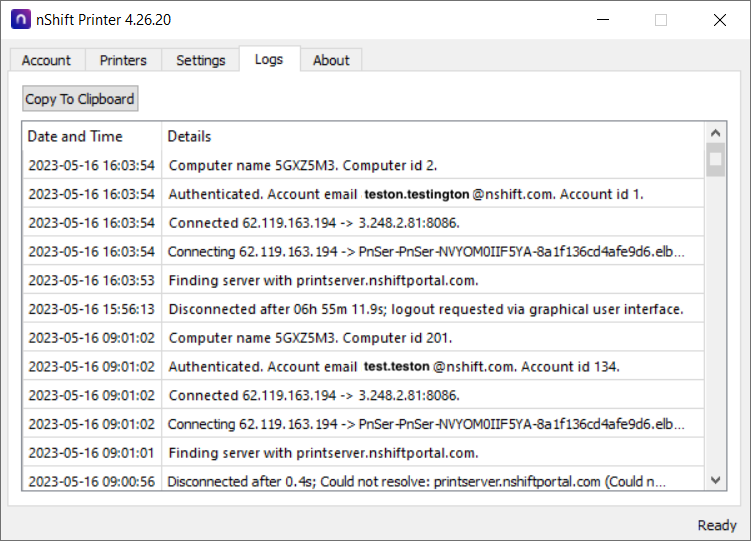
The Logs tab provides information that can be useful for troubleshooting.
 |
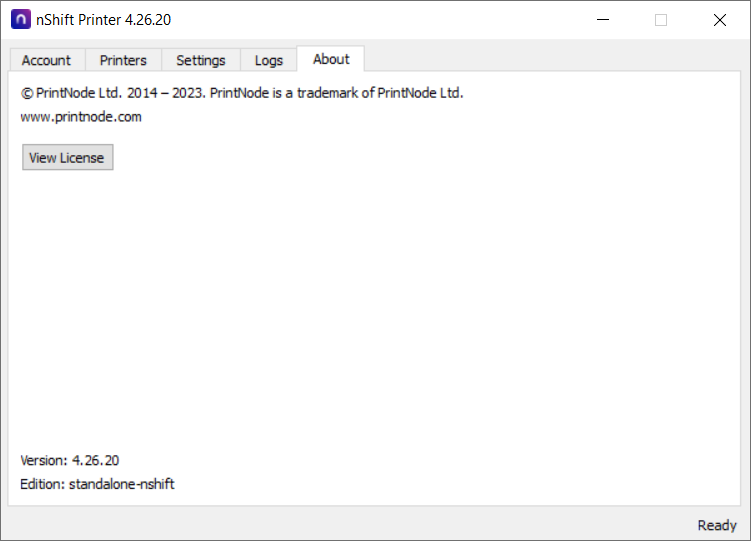
License information can be found under the About tab.
 |
If you forget your password to your Print account, which is needed to connect the Print client, the password can be reset.
If the Print client application is not connected the user will see a Forgot password? link below the login fields in the application interface .
Click the Forgot password? link.
Enter username or email for the account.
Click .
An email containing a link to set a new password is sent to the email provided, or associated with the username.
Open the link in the email and provide a new password.
