Order channels
Order channels let you connect and manage orders from different sources, such as custom online stores or supported ecommerce platforms. Each order channel connects a specific sales platform or system and controls how orders from that source are imported and handled.
Caution
If you use Profile management, note that order channels are created in the current profile group. If an order channel should belong only to a specific profile group, create it while logged in to a profile in that profile group.
After the order channel is created, users in that profile group and the account administrator can access it.
Before you begin
Before completing the order channel setup, make sure at least one sender already exists and that the sender has one or more carriers connected. You use this sender and its connected carriers when creating delivery options. See Add sender and Connect a carrier to a sender.
When to use this
Use order channels when connecting a new shop, marketplace, or custom system.
Key concepts
Order channel – a connection between nShift Delivery and an external order source
Custom order channel – used for API-based connections configured with general settings
Integration order channel – used for supported platforms with predefined setup steps
Delivery option – the delivery choice shown to the shopper at checkout for orders from the order channel
Order channels list – the available order channels and their basic information, such as connection type, last updated date, and number of delivery options
Actions menu – actions you can take for an order channel, such as opening or deleting it
Related topics
Create a Shopify order channel – Connect Shopify to import orders
Create a WooCommerce order channel – Connect WooCommerce to import orders
Create a custom order channel – Create and configure a custom order channel
Delivery options – Add and manage delivery options for existing order channels
Create a Shopify order channel
Create a Shopify order channel to connect your Shopify store and start importing orders automatically.
Caution
If you use Profile management, note that order channels are created in the current profile group. If an order channel should belong only to a specific profile group, create it while logged in to a profile in that profile group.
Steps
Go to >
Select
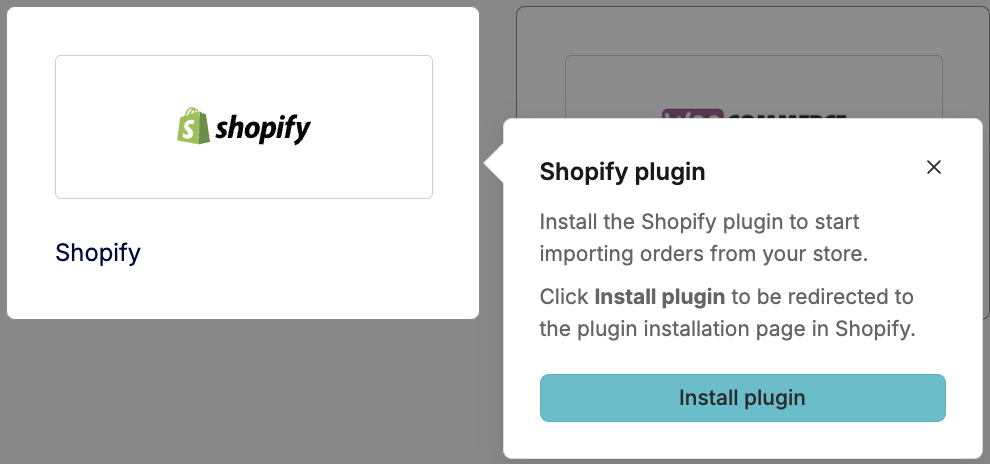
Select Shopify and follow the instructions to install the app
In nShift Delivery, enter a Name
Tip
Use clear and descriptive names for each order channel to simplify management.
Select Active if the order channel should start importing orders immediately
Select Create shipments automatically if shipments should be created automatically when orders are imported
Note
The Fulfill orders automatically option is not available yet. Leave this setting unchanged.
Select Connect
In Shopify, authorize the nShift Delivery and Shopify connection
Result
After the connection is authorized, the Shopify order channel is created and order synchronization is active.
Next step
After creating the order channel, add at least one delivery option to define how shipments are created for orders from this channel. You must connect a delivery option before you can create shipments. See Create a delivery option.
Field descriptions
Field | Description |
|---|---|
Active | Activates the order channel and allows order import |
Name | Internal name used to identify the order channel |
Create shipments automatically | Automatically creates shipments when orders are imported |
Fulfill orders automatically | Not available yet |
Order channel ID | Unique identifier for the order channel |
Create a WooCommerce order channel
Create a WooCommerce order channel to connect your WooCommerce store and start importing orders automatically.
Before you begin
Before you begin, make sure the permalink structure in WooCommerce is set to Post name.
Caution
If you use Profile management, note that order channels are created in the current profile group. If an order channel should belong only to a specific profile group, create it while logged in to a profile in that profile group.
Steps
Go to >
Select
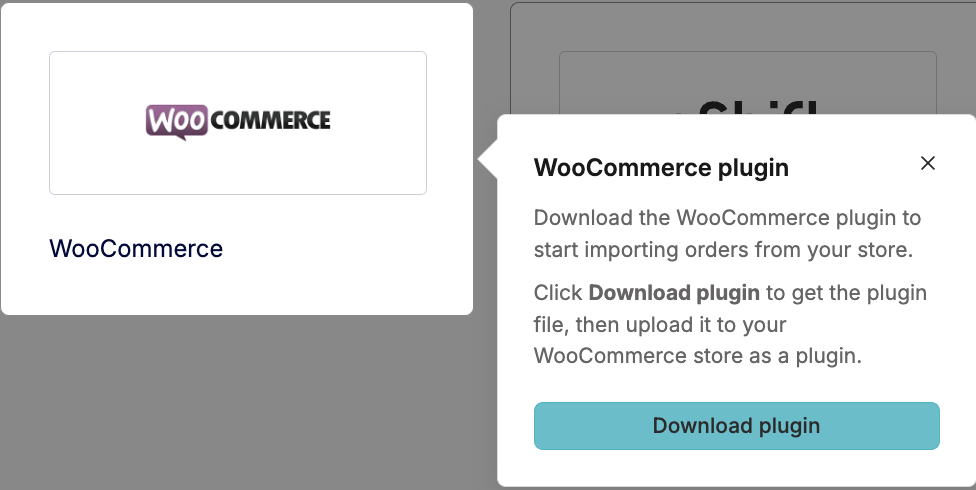
Select WooCommerce and follow the instructions to download the plugin
In nShift Delivery, enter a Name
Tip
Use clear and descriptive names for each order channel to simplify management.
Select Active if the order channel should start importing orders immediately
Select Create shipments automatically if shipments should be created automatically when orders are imported
Note
The Fulfill orders automatically option is not available yet. Leave this setting unchanged.
Select Connect
In WooCommerce, authorize the nShift Delivery and WooCommerce connection
Result
After the connection is authorized, the WooCommerce order channel is created and order synchronization is active.
Next step
After creating the order channel, add at least one delivery option to define how shipments are created for orders from this channel. You must connect a delivery option before you can create shipments. See Create a delivery option.
Field descriptions
Field | Description |
|---|---|
Active | Activates the order channel and allows order import |
Name | Internal name used to identify the order channel |
Create shipments automatically | Automatically creates shipments when orders are imported |
Fulfill orders automatically | Not available yet |
Order channel ID | Unique identifier for the order channel |
Create a custom order channel
Create a custom order channel to connect an external system and start importing orders. Use this option when you need an API-based connection instead of a predefined platform integration.
Caution
If you use Profile management, note that order channels are created in the current profile group. If an order channel should belong only to a specific profile group, create it while logged in to a profile in that profile group.
Steps
Go to >
Select
Select Custom integration
Enter a Name
Tip
Use clear and descriptive names for each order channel to simplify management.
Select Active if the order channel should start importing orders immediately
Select Create shipments automatically if shipments should be created automatically when orders are imported
Note
The Fulfill orders automatically option is not available yet. Leave this setting unchanged.
Select Connect
Result
After the order channel is created an Order channel ID is displayed on the page.
The Order channel ID uniquely identifies the order channel and is used when connecting external systems through the API.
Next step
After creating the order channel, add at least one delivery option to define how shipments are created for orders from this channel. You must connect a delivery option before you can create shipments. See Create a delivery option.
Field descriptions
Field | Description |
|---|---|
Active | Activates the order channel and allows order import |
Name | Internal name used to identify the order channel |
Create shipments automatically | Automatically creates shipments when orders are imported |
Fulfill orders automatically | Not available yet |
Order channel ID | Unique identifier for the order channel |
Connect your system to the custom order channel
After you create a custom order channel, connect your external system so it can send orders to the correct order channel.
Before you begin
Before you begin, create the custom order channel and create API credentials.
Note
If you use Profile management, use the API credentials and order channel ID for the order channel created in the intended profile group. Orders imported through the integration belong to that order channel and follow the same profile group access.
Use the following values in your integration setup:
ID
Secret ID
Order channel ID
When you create the API credentials, select Web Services (REST).
The ID and Secret ID are used to authenticate API requests. The order channel ID identifies which custom order channel imported orders are sent to.
Use the API credentials to request an access token. The token is valid for 12 hours and can be used for all endpoints during that time.
After you have a valid token, configure your external system, or an integration built for it, to send order data to the Order API.
See the API documentation for authentication, available endpoints, request and response examples, and required and optional order fields.
When the integration is configured and orders are imported successfully, you can create shipments from those orders.